
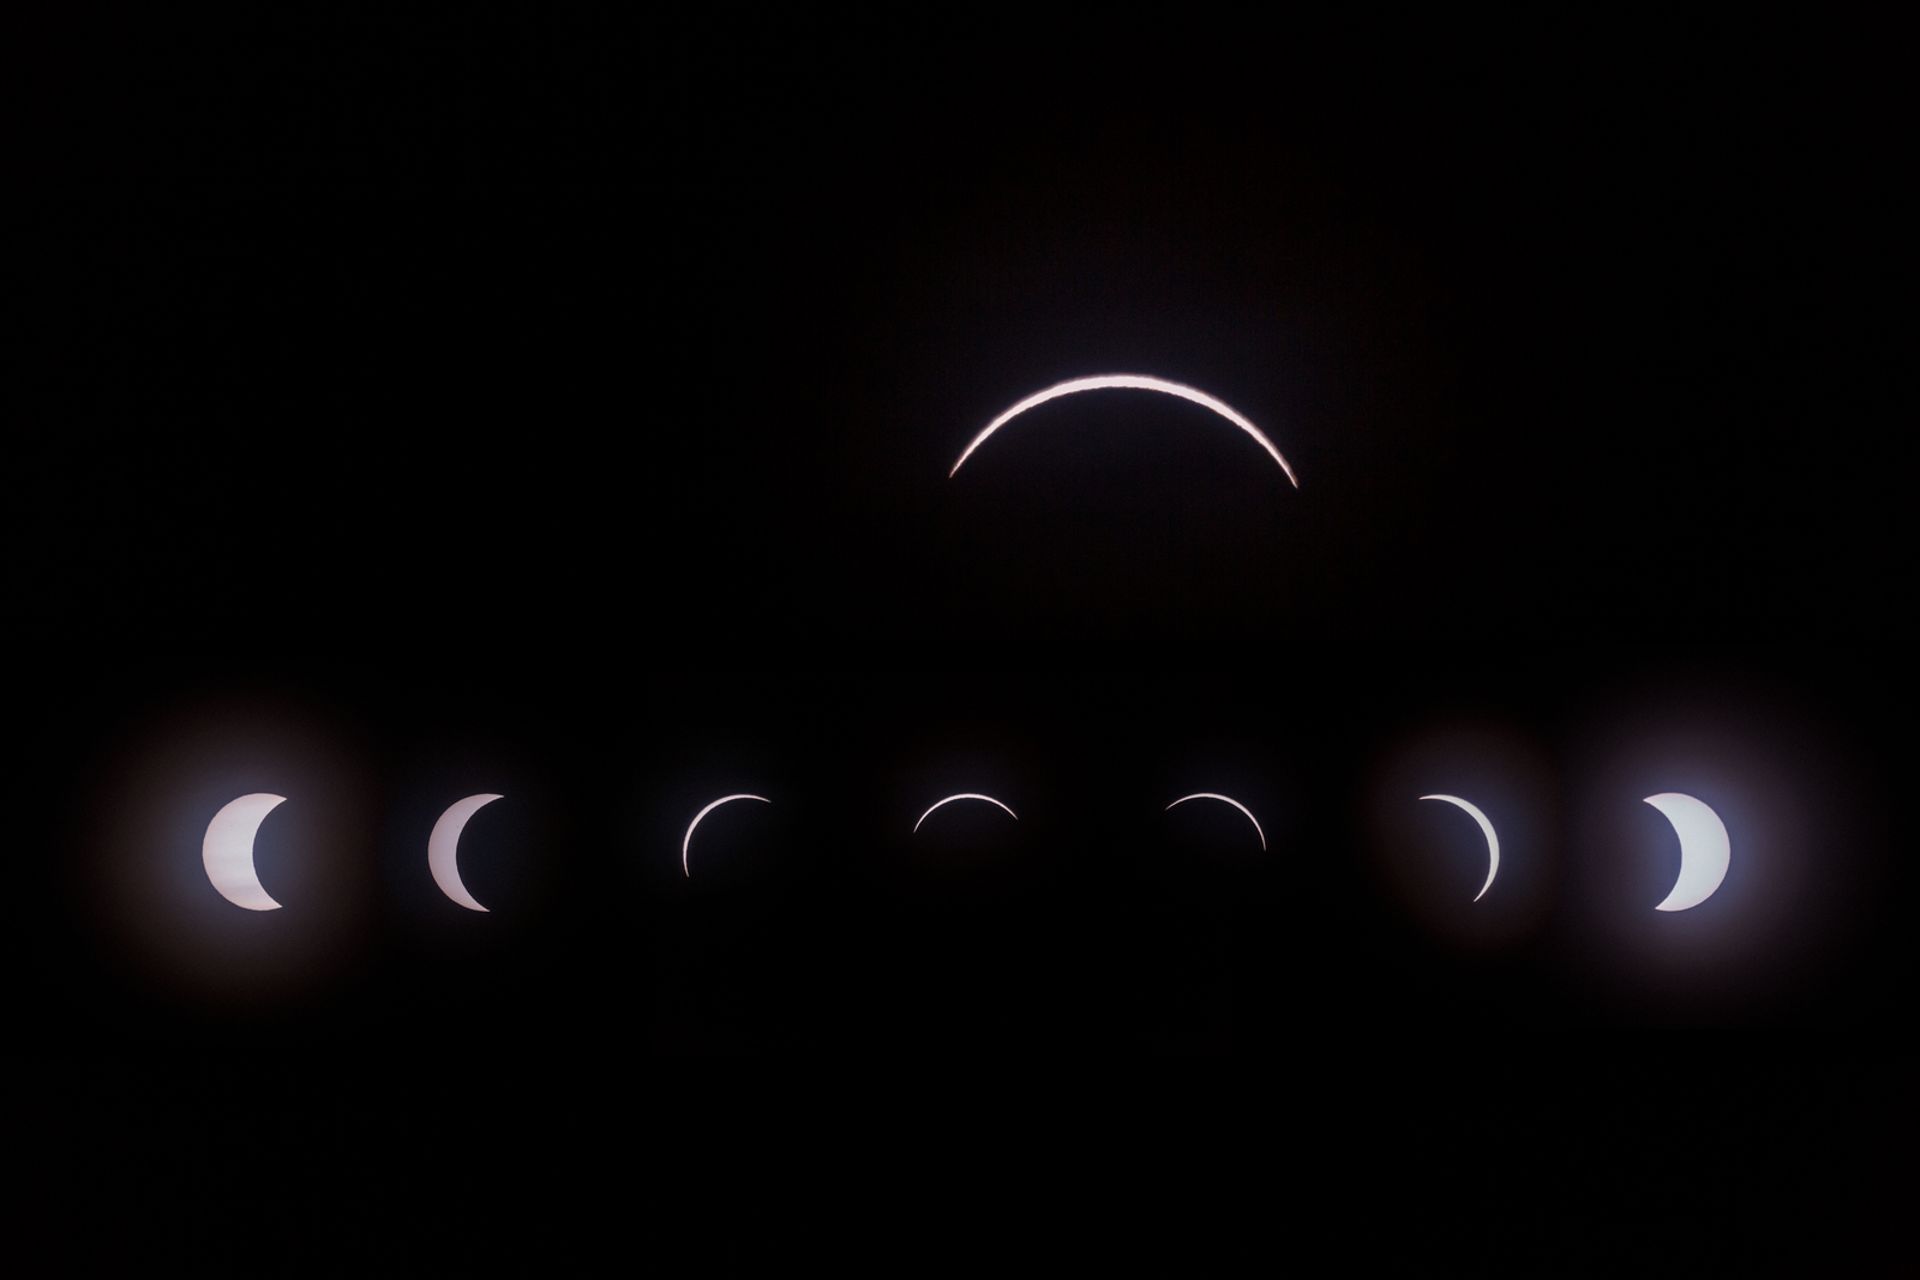
Tips for Solar Eclipse Photography
The sight of a solar eclipse is a once-in-a-lifetime experience for many. When the moon moves between the Earth and the sun, it creates a spectacle of light and shadow that’s impossible to forget. But capturing that moment on camera can be challenging, especially for those new to eclipse photography. Whether you’re an experienced photographer or a curious traveller hoping to take some beautiful shots during the solar eclipse, the following tips will help you capture stunning images.
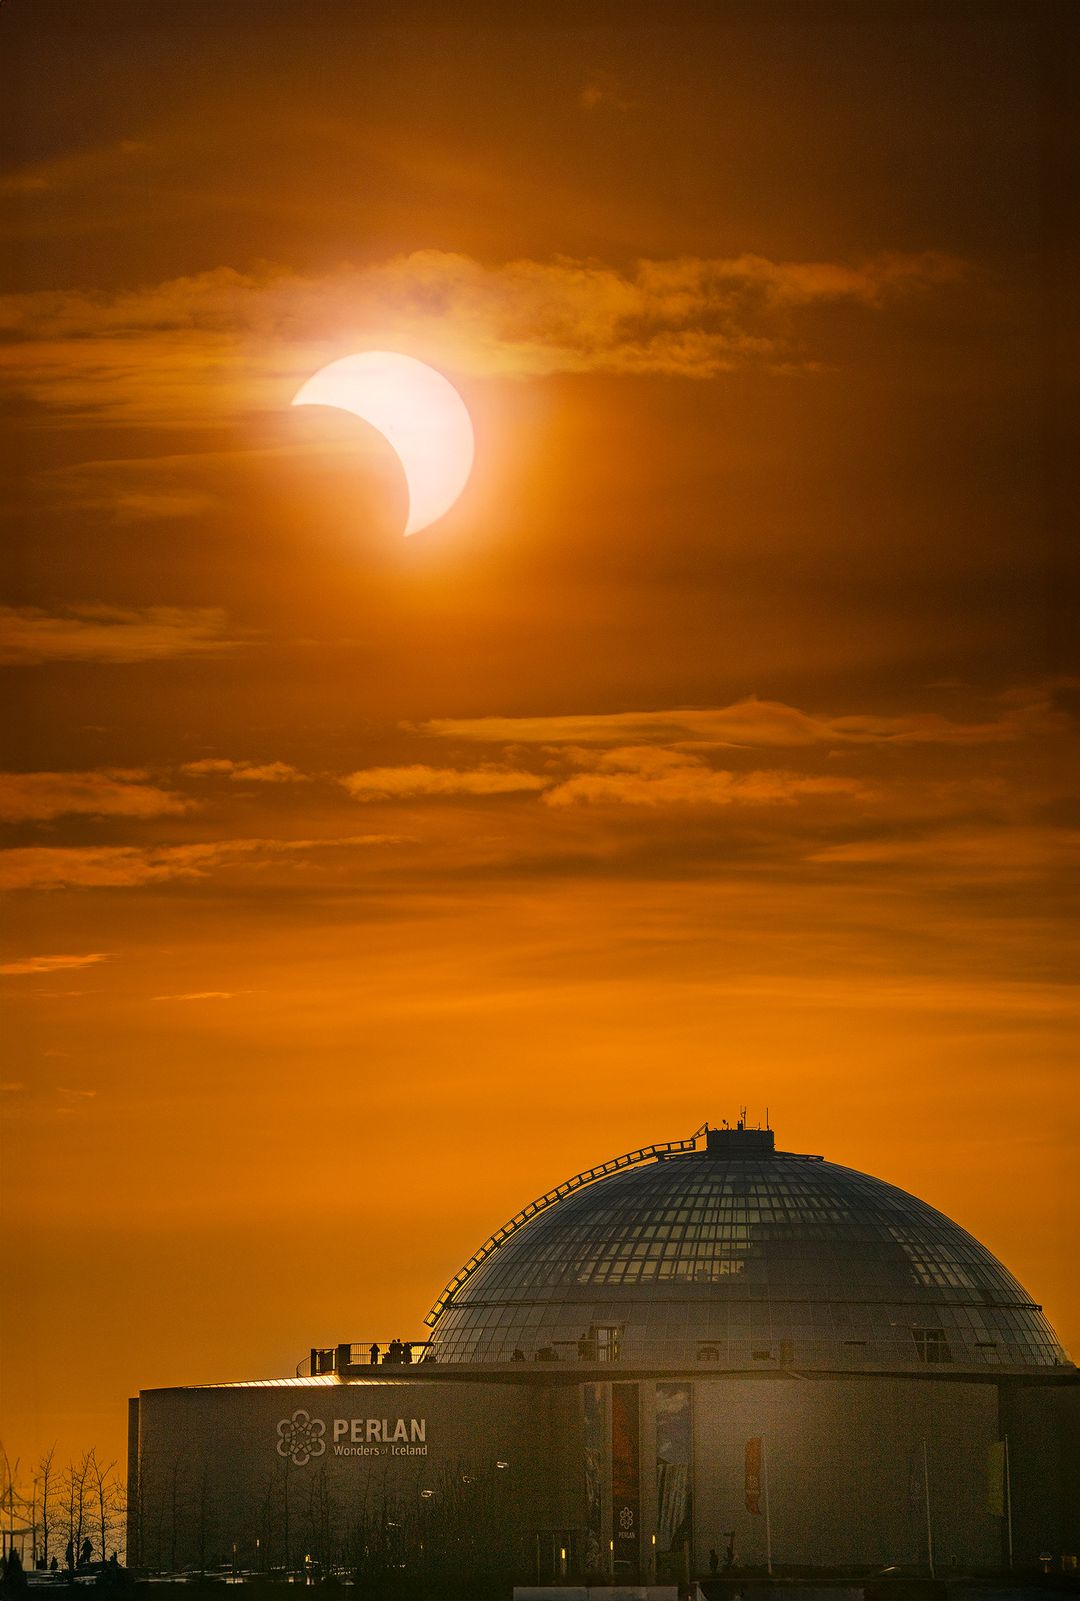
Essential Gear for Solar Eclipse Photography
Before diving into camera settings and techniques, let’s look at the essential gear you’ll need to capture the solar eclipse safely and effectively.
Solar Filters
A solar filter is one of the most critical pieces of equipment for solar eclipse photography. Without a solar filter, the sun’s rays can damage both your camera’s sensor and, more importantly, your eyes. Make sure you get a certified solar filter for your camera lens. This filter will block harmful UV and infrared rays, allowing you to photograph the sun safely.
Tripod
A sturdy tripod is essential for eclipse photography. Since you’ll be using longer exposure times and potentially zooming in on the sun, having a stable platform for your camera will prevent blurry images caused by camera shake.
Telephoto Lens
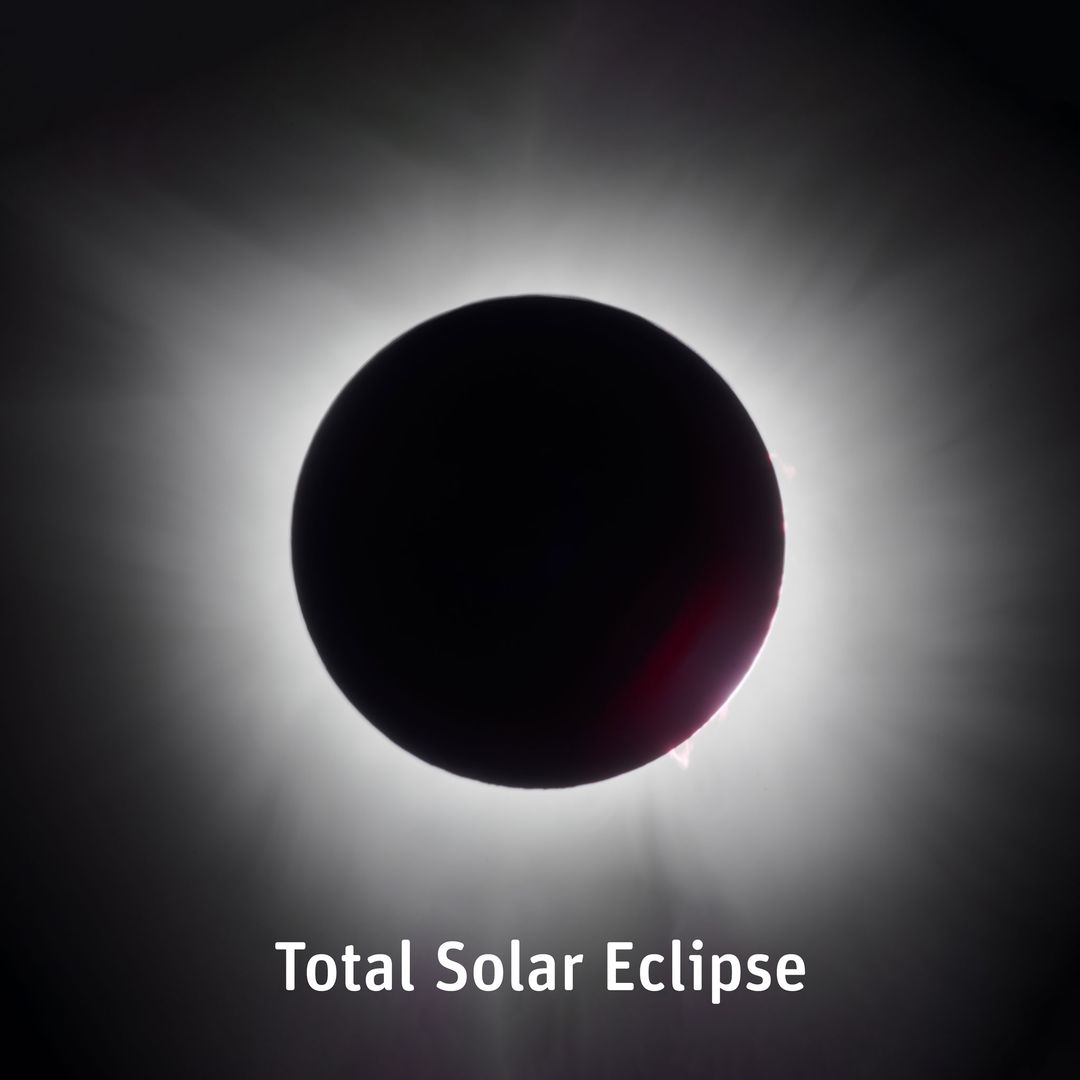
A telephoto lens, ideally between 400mm and 800mm, will allow you to capture close-up details of the eclipse. You can use a smaller lens with lower magnification if you don’t have a long lens. The telephoto lens will give you those dramatic, zoomed-in shots of the sun’s corona during totality.
Remote Shutter Release
A remote shutter release allows you to trigger the camera without touching it, reducing the chance of a camera shake. You can also use the camera’s timer function as an alternative.
Backup Batteries and Memory Cards
Eclipse photography requires a lot of shots and extended setup times, so ensure you have extra batteries and memory cards on hand. This will prevent any last-minute disruptions as you capture those unforgettable moments.
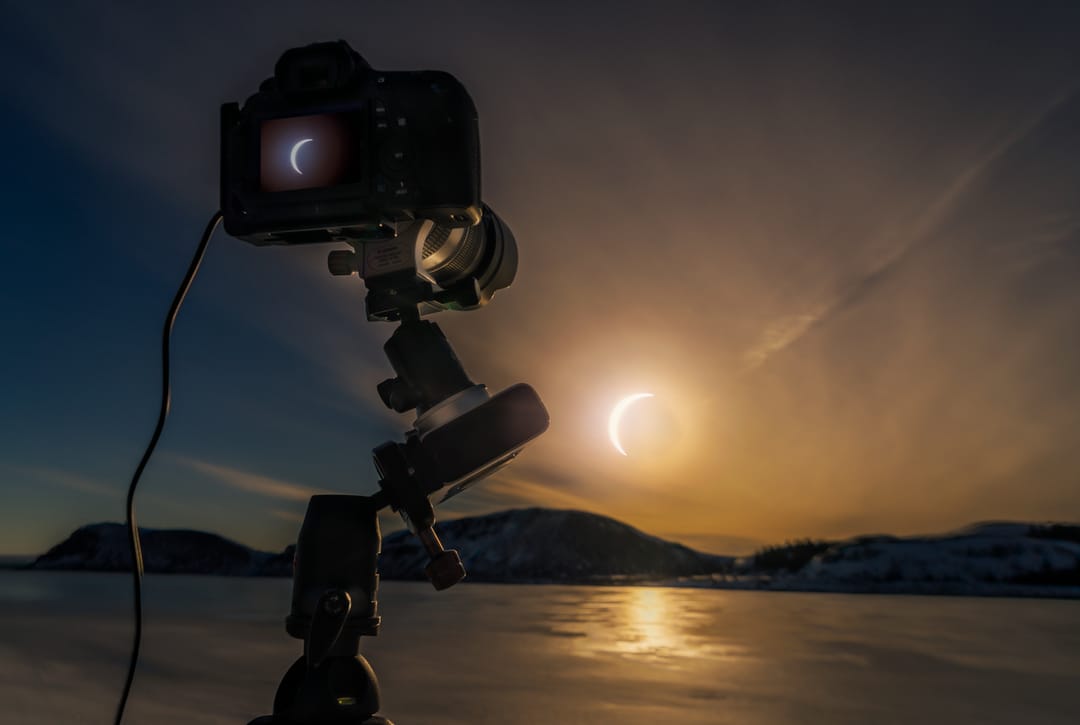
Camera Settings for Solar Eclipse Photography
Adjusting your camera settings is key to achieving the best results when photographing a solar eclipse. Here are some general guidelines:
ISO
Start with a low ISO, such as 100 or 200, during the brighter partial phases of the eclipse. This helps minimise image noise and maintain detail. During totality, you may need to adjust the ISO along with your shutter speed depending on the available light and the effect you want to capture.
Aperture (f-stop)
For a solar eclipse, an aperture of f/8 to f/16 is recommended. This range provides good depth of field and sharpness, allowing you to capture the details of the sun’s surface and the corona during totality.
Shutter Speed
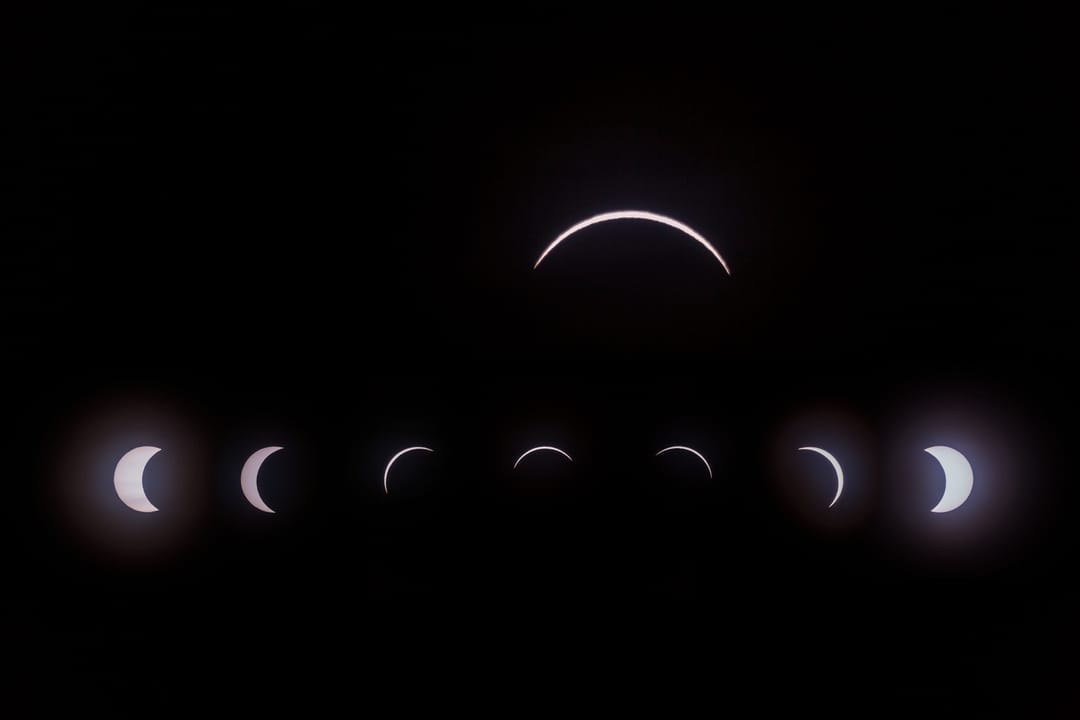
The shutter speed you use will vary depending on which phase of the eclipse you’re capturing. Before totality, when the sun is still bright, use a fast shutter speed (around 1/1000 to 1/4000 seconds) to avoid overexposure. During totality, when the sky darkens, you can use a slower shutter speed (around 1/125 to 1/4 seconds) to capture the sun’s corona.
White Balance
Set your camera’s white balance to daylight or auto. This will give you a neutral colour profile that can be easily adjusted later in post-processing.
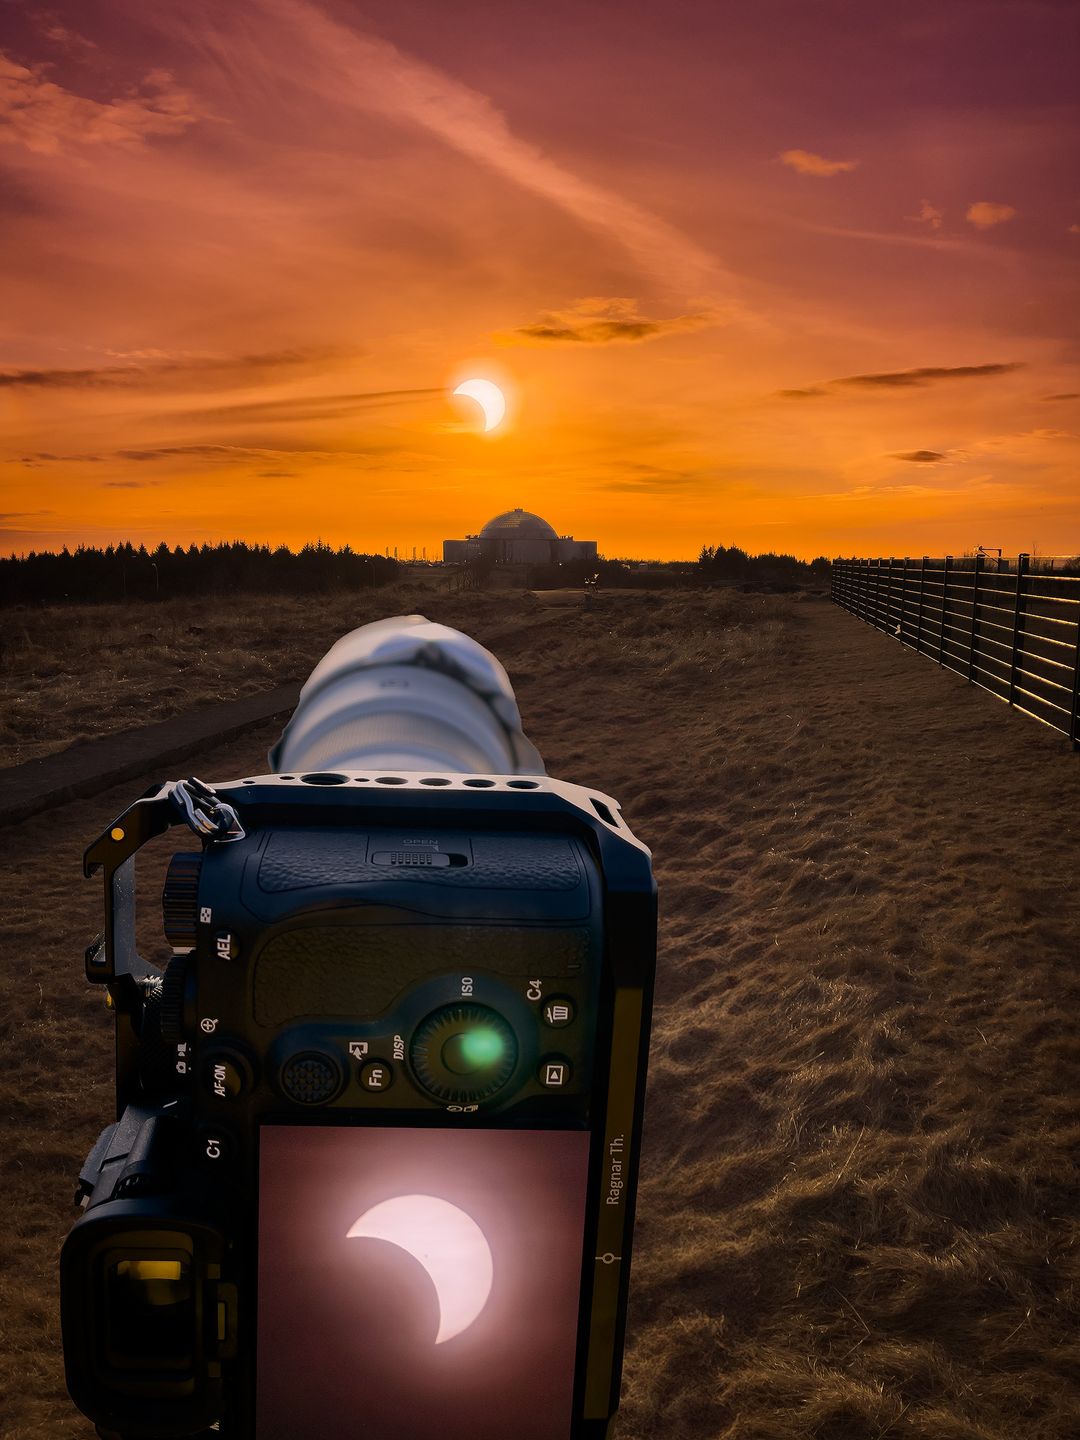
Step-by-Step Guide to Taking Solar Eclipse Photos
Now that you have the right gear and settings, here’s a step-by-step guide to capturing stunning solar eclipse photos.
Step 1: Set Up Your Gear
Choose a safe, stable location with a clear view of the Sun and enough space to set up your tripod. Check the eclipse path, local weather forecast and the Sun’s position in advance so you know where to position your camera.
Step 2: Attach Your Solar Filter
Make sure your solar filter is securely attached to your camera lens. This is crucial for protecting your eyes and your camera’s sensor when photographing the sun.
Step 3: Focus on the sun
Use manual focus to ensure your camera is correctly focused on the sun. Autofocus may struggle in these conditions, so zoom in on the sun and manually adjust the focus until it appears sharp on your camera’s screen.
Step 4: Adjust Camera Settings
Use the recommended settings (ISO 100-200, f/8-f/16, shutter speed 1/1000 to 1/4000 seconds) to begin photographing the partial phases of the eclipse. Adjust your shutter speed as the light changes throughout the different stages of the eclipse.
Step 5: Capture Totality
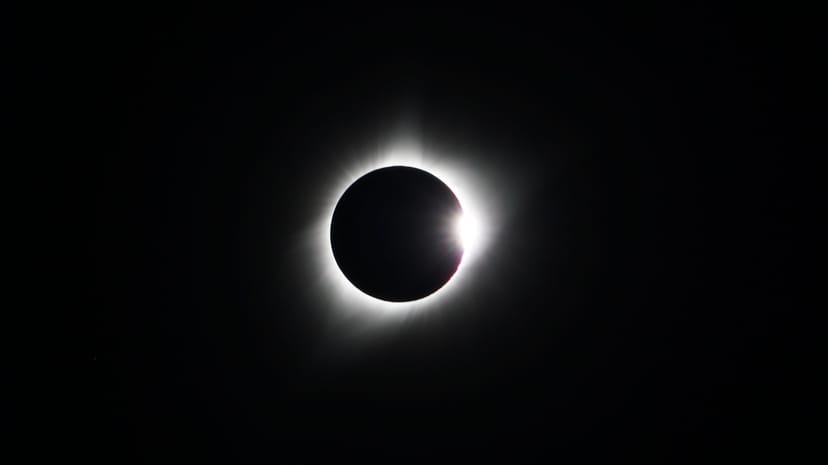
If you are inside the path of totality, the solar filter can be removed only during the brief period when the Moon completely covers the Sun. This allows you to photograph the faint solar corona surrounding the Moon. Try several shutter speeds and exposures during this short window. Replace the solar filter before any part of the bright Sun becomes visible again.
Step 6: Post-Processing
Solar eclipse photography can be challenging, but preparation makes a significant difference. Practise using your camera settings before the eclipse, check your equipment in advance and always use the correct solar filter during the partial phases. With the right setup, you can photograph everything from the changing shape of the Sun to the corona visible during totality.
Solar Eclipse Photography in Iceland
Iceland experienced a total solar eclipse on August 12, 2026. In Reykjavík, cloud cover prevented clear views of the Sun, showing why weather conditions are an important part of planning eclipse photography.
FAQs
Use a low ISO (100-200), an aperture between f/8 and f/16, and a fast shutter speed for the partial phases. During totality, slow down your shutter speed to capture the corona.
A solar filter and a tripod are recommended for stability when using your phone for photographs. Specialised apps can help optimise your shots.
A certified solar filter is essential for safely photographing the eclipse and protecting your camera’s sensor.
The best focal length for solar eclipse photography typically ranges between 400mm and 800mm. A longer focal length, like 500mm to 800mm, will give you a close-up of the sun, while a shorter one, around 300mm to 400mm, captures more of the surrounding sky and eclipse setting.
Popular articles
The Complete Guide to the Northern Lights in Iceland
Learn how the Northern Lights form, where to see them in Iceland, how to prepare, take photos, read the forecast, and improve your chances of a sighting.
Let's Talk About the Volcano in Iceland About to Erupt
Is a volcano in Iceland about to erupt? Here’s what travelers should know about Svartsengi, Reykjanes activity, flights, safety, and the Blue Lagoon.
Solar Eclipse 2026 in Iceland | What Happened
Iceland experienced a total solar eclipse on August 12, 2026. Discover what happened in Reykjavík, eclipse times, totality locations and more.
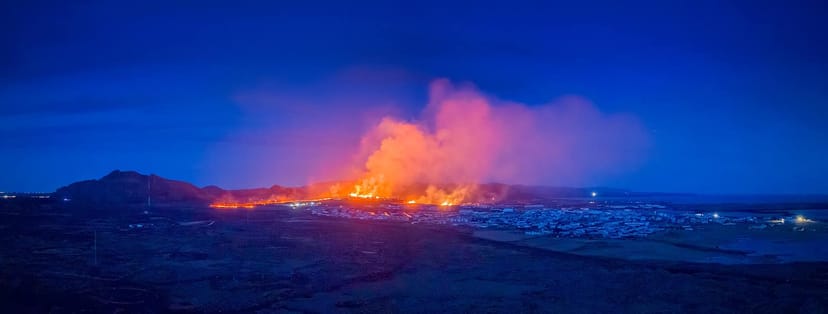
September 2026 updates on the Sundhnúkagígar Eruption in the Reykjanes Peninsula!
The current eruption in the Reykjanes Peninsula, is called Sundhnúkagígar Crater Row. See insights on the seismic activity and volcanic eruptions in the area!
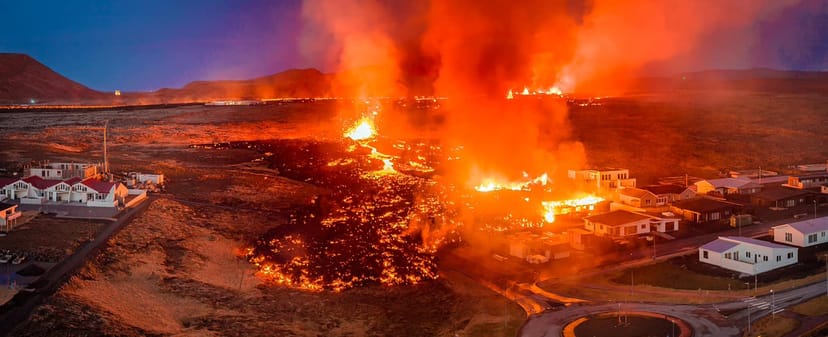
Active Volcanoes in Iceland 2026
Active volcanoes aren't the same thing as active eruptions. A volcano can be considered active even when it is not ejecting ash, rock, gases and magma, so which are active in Iceland in 2026?
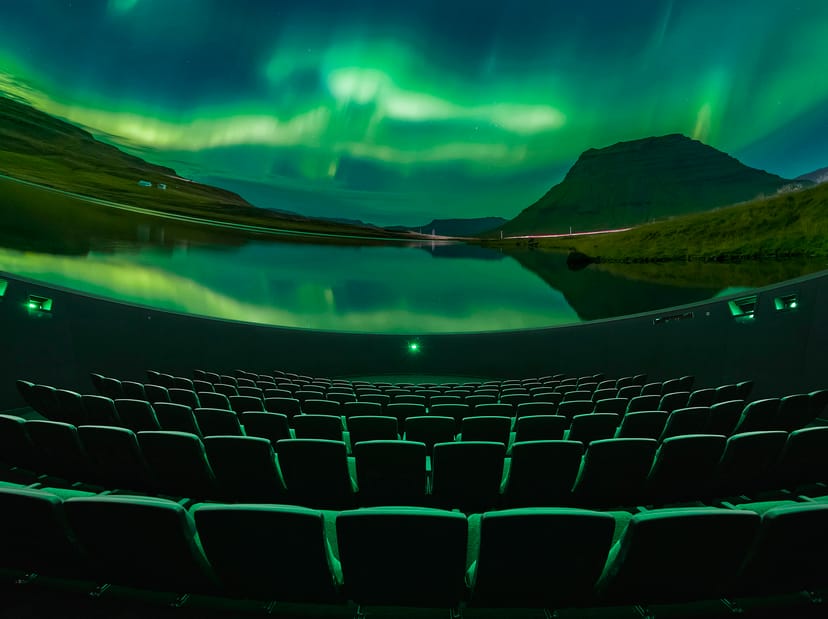
Top 10 Places To See the Northern Lights in Iceland
Discover the best places to see the Northern Lights in Iceland, from Jökulsárlón and Kirkjufell to Reykjavík, Þingvellir and North Iceland.
Ice Caves From Reykjavik
Planning an ice cave trip from Reykjavik? Compare Katla, Langjökull and Vatnajökull, travel times, seasons and Perlan’s ice cave in the city.